Have you ever wanted to transform your space with wood paneling but thought it was too complicated?
You’re not alone! Many people dream of adding the warm and inviting look of wood paneling to their homes but feel overwhelmed by the process. The good news is that you can install wood paneling directly over your existing drywall without the hassle of tearing it down. This guide will take you through easy installation methods that you can do yourself!
Benefits of Installing Wood Paneling
Installing wood paneling offers several benefits:
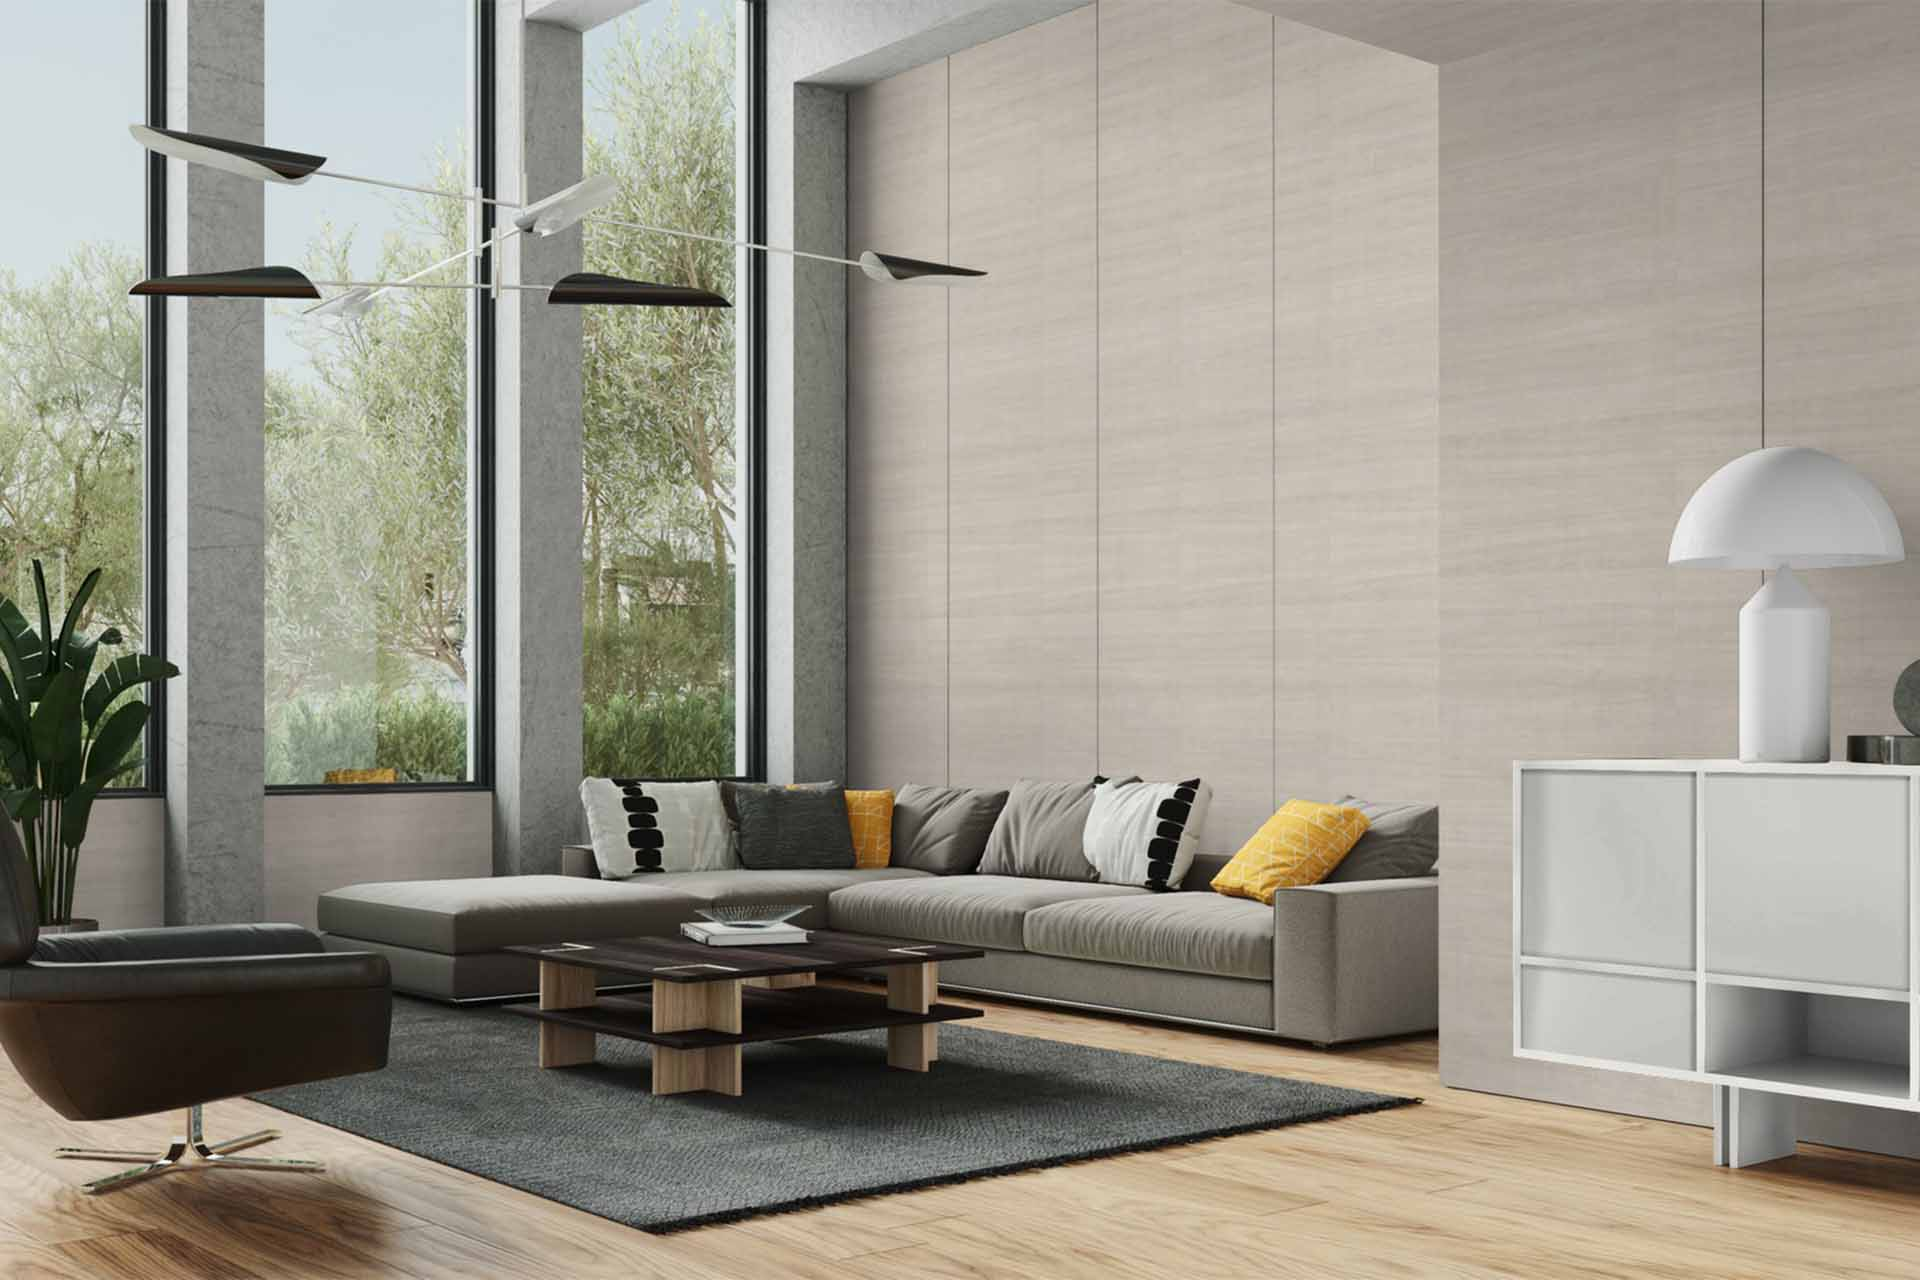
Aesthetic Appeal: Wood paneling adds character and warmth to any room.
Easy Maintenance: It’s easy to clean and maintain compared to painted walls.
Insulation: Wood acts as a natural insulator, helping to keep your home cozy.
Increased Home Value: A well-done wood paneling job can increase the value of your home.
Overview of Installation Methods
There are a few different installation methods you can use when applying wood paneling over drywall. Each method has its own advantages, and you can choose the one that works best for your space and skill level. Let’s explore these options together!
Materials You’ll Need
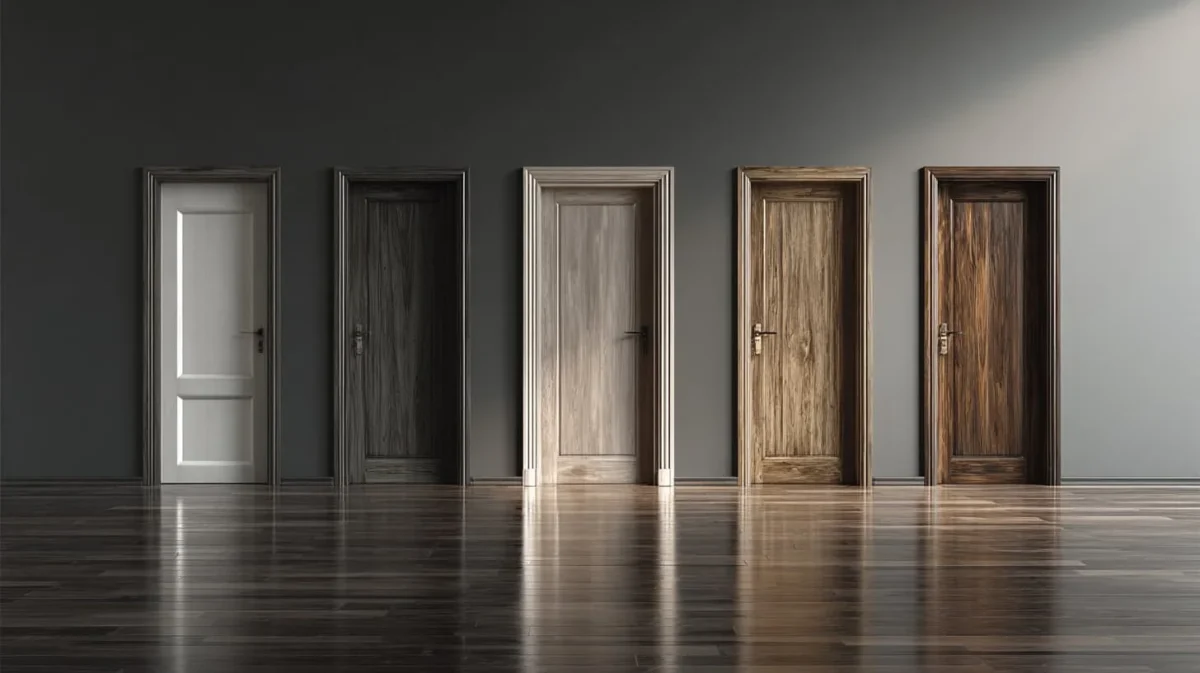
Types of Wood Paneling
Wood paneling comes in various styles:
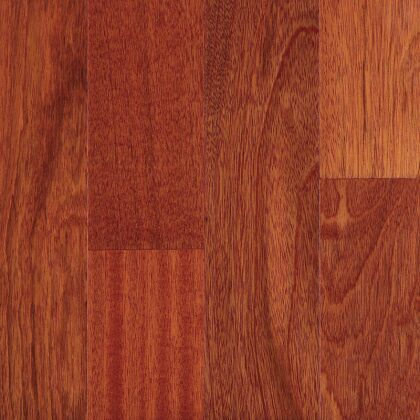
Solid Wood Panels: Durable and traditional, but can be more expensive.
Plywood Panels: A budget-friendly option that can look great when stained.
MDF Panels: Medium-density fiberboard is lightweight and easy to work with, making it a popular choice.
Tools Required for Installation
To get started, gather these essential tools:
Measuring Tape: For accurate measurements.
Level: To ensure your panels are straight.
Utility Knife: For cutting panels.
Drill: If you’re using furring strips.
Adhesive: If you’re using the adhesive method.
Stud Finder: Helps locate wall studs.
Safety Gear to Consider
Don’t forget to protect yourself! Use:
Safety Glasses: To protect your eyes.
Dust Mask: To avoid inhaling dust during cutting.
Gloves: To keep your hands safe while handling materials.
Preparing Your Wall
Assessing the Condition of Your Drywall
Before you start, check your drywall for any damage. Look for:
Holes or Cracks: Patch these up with spackle.
Dampness or Mold: Address any moisture issues first.
Cleaning the Surface
Make sure your drywall is clean and free of dust. Wipe it down with a damp cloth to ensure the adhesive or panels stick properly.
Measuring Your Wall Space
Measure the height and width of your walls. Make notes of these dimensions, as you’ll need them to cut your panels to size.
Choosing the Right Installation Method
Direct Adhesive Installation
This method is quick and easy. You’ll use adhesive to attach the panels directly to the drywall. It’s great for lightweight panels.
Using Furring Strips
Furring strips are thin strips of wood that you attach to the wall first. Then, you attach the panels to these strips. This method provides extra support and is ideal for heavier panels.
Floating Panel System
With this method, panels are not directly attached to the wall. Instead, they “float” and are held in place with a frame. This option is great for creating a unique look.
Step-by-Step Installation Procedures
Preparing the Adhesive Method
1. Cut Panels to Size: Use your measurements to cut your wood panels.
2. Apply Adhesive: Spread adhesive on the back of the panel.
3. Press and Hold: Firmly press the panel against the wall and hold for a few seconds.
Installing with Furring Strips
1. Install Furring Strips: Attach strips vertically (or horizontally, depending on your design) to the wall with screws.
2. Attach Panels: Fasten the wood panels to the strips using screws or adhesive.
Setting Up a Floating Panel System
1. Build the Frame: Create a frame on the wall to hold the panels.
2. Attach Panels to Frame: Use clips or brackets to secure the panels in place.
Installation Best Practices
Ensuring Level and Straight Panels
Always use a level to check that your panels are straight. Start from the bottom and work your way up.
Managing Panel Seams
To create a seamless look, stagger the seams of your panels. This will help reduce the appearance of gaps and make the installation look professional.
Securing Panels Properly
Make sure that each panel is securely attached. If you’re using adhesive, allow it to cure for the time specified by the manufacturer before putting any weight on it.
Finishing Touches
Caulking and Sealing Joints
Use caulk to fill in any gaps between panels and around edges. This will give your installation a clean, finished look.
Staining or Painting Options
Decide if you want to stain or paint your panels. Staining will enhance the natural wood grain, while paint can give a modern touch.
Adding Trim for a Polished Look
Consider adding trim around the edges of your panels. This can frame the wood nicely and cover any imperfections.
Troubleshooting Common Issues
Dealing with Uneven Walls
If your walls are uneven, use shims behind the panels as needed. This will help level them out.
Fixing Gaps Between Panels
If you find gaps between panels, use wood filler or caulk to fill them in. Sand smooth once dry.
Addressing Adhesive Problems
If a panel isn’t sticking, try removing it, cleaning the back, and applying fresh adhesive. Make sure to press it firmly against the wall.
Maintenance Tips for Wood Paneling
Regular Cleaning Procedures
Dust your wood panels regularly with a soft cloth. For deeper cleaning, use a mild soap solution and a damp cloth.
Preventing Warping and Damage
Keep the humidity in your home consistent. Too much moisture can cause the wood to warp, while too little can lead to cracking.
Repainting or Refinishing
If your panels start to look worn, consider refinishing them. Sand down the surface and apply a fresh coat of stain or paint.
Key Takeaways and Conclusion
Recap of Installation Methods
You learned about three main installation methods: adhesive, furring strips, and floating panel systems. Each has its benefits, so choose the one that fits your needs best!
Final Thoughts on Wood Paneling
Wood paneling can dramatically change the look and feel of your space. With the right materials and techniques, you can achieve a stunning result without the hassle of removing your drywall.
Encouragement to Get Started!
Don’t let fear hold you back! You can do this! With a little time and effort, you’ll have beautiful wood paneling that you can enjoy for years to come. So gather your materials, choose your method, and get started on transforming your space today!
FAQ
How long does the installation process take?
The installation time varies based on the method used and the size of the area. Generally, it can take anywhere from a few hours to a couple of days.
Can I install wood paneling over existing wallpaper?
Yes, you can install wood paneling over wallpaper as long as it is securely attached and in good condition. However, removing the wallpaper is recommended for the best results.
What are the costs involved in this project?
Costs can vary widely based on the type of wood paneling and materials you choose. On average, you might spend anywhere from $1 to $5 per square foot for panels, plus additional costs for tools and adhesives.
Now that you’re equipped with all the knowledge you need, it’s time to roll up your sleeves and get started on your wood paneling project! Happy decorating!