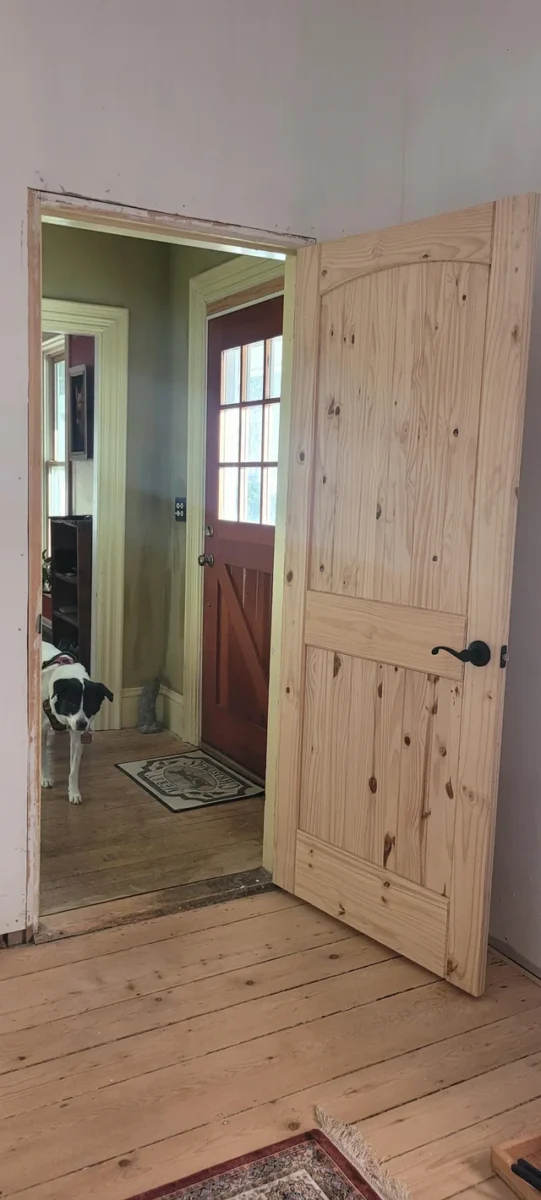
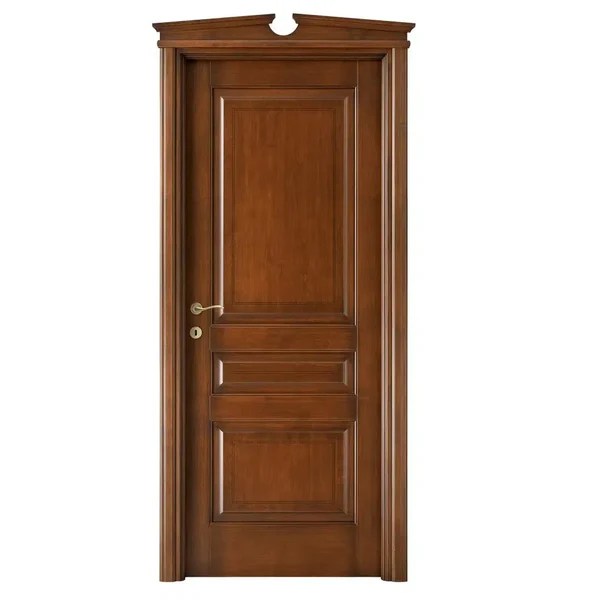
Introduction to Refinishing Solid Wood Doors
Refinishing your solid wood doors is a fantastic way to breathe new life into your home. Not only does it enhance the appearance of your doors, but it also protects them from wear and tear. In this blog post, you’ll learn how to strip and refinish solid wood doors without removing them, ensuring minimal disruption to your daily routine.
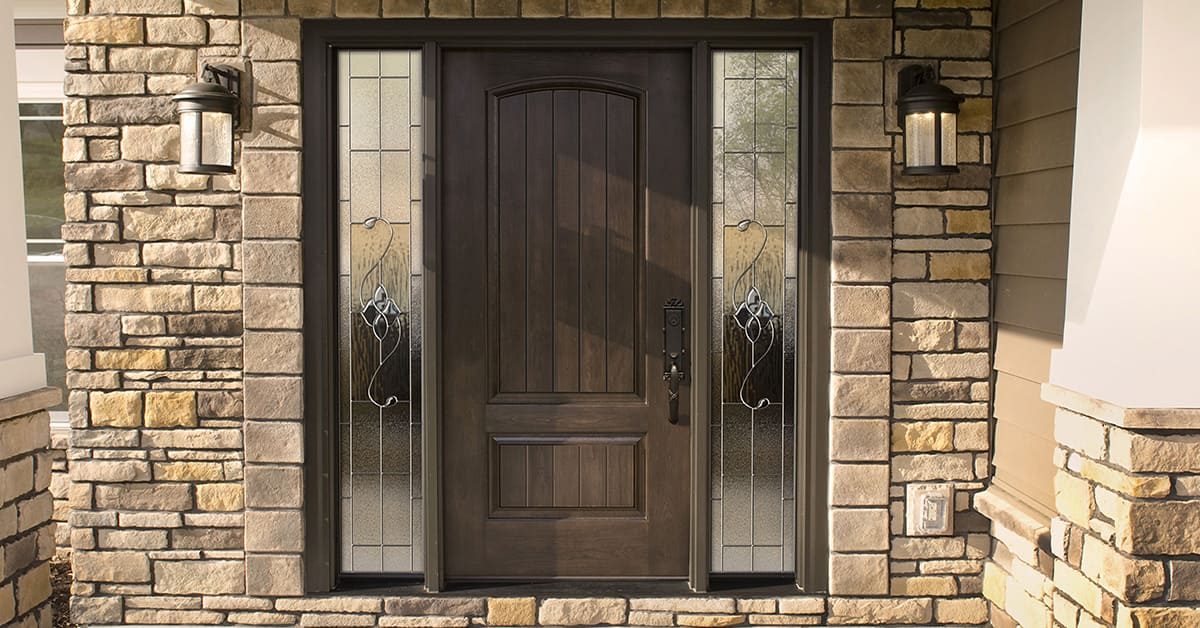
Why Refinish Your Solid Wood Doors?
As time goes by, doors can become scratched, faded, or dull. Refinishing allows you to:Restore the original beauty of the wood
Protect against moisture and damage
Increase the resale value of your home
Benefits of Refinishing Without Removing Doors
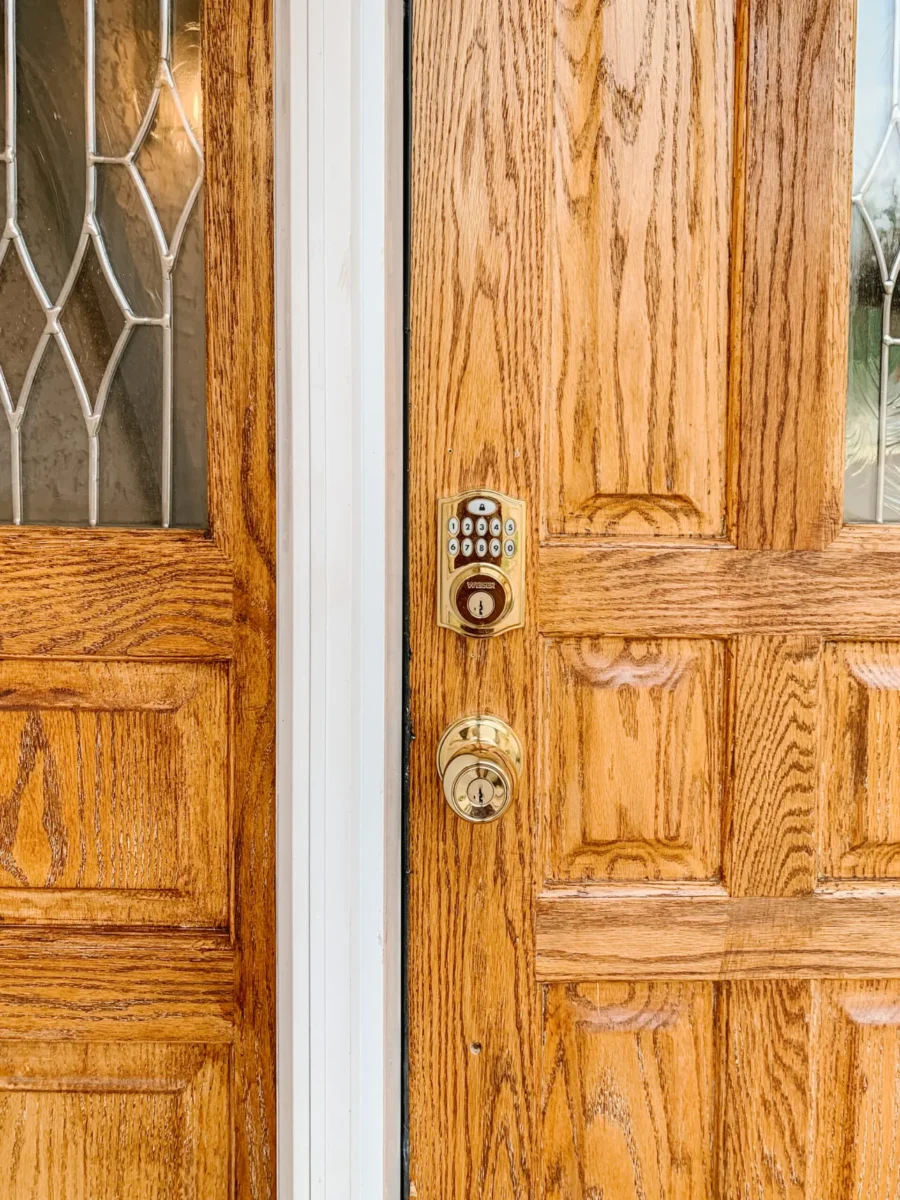
Refinishing your doors in place saves you the hassle of removing them. You can work around your schedule, and there’s no need to deal with hinges and hardware. Plus, you avoid the risk of damaging your door frame or floor during removal. Many find this method more convenient, keeping your home intact while you work.
Tools and Materials Needed
Before you start, gather the necessary tools and materials. Having everything ready ensures a smoother process.
Essential Tools for Stripping and Refinishing
Paint Stripper: A good quality chemical stripper will help remove old finishes.
Scraper: A plastic or metal scraper will assist in removing the old finish.
Sandpaper: Different grits for sanding (more on this later).
Brush and Rags: For applying stripper and cleaning up.
Protective Gear: Gloves and goggles are essential for safety.
Recommended Stripping Agents and Finishes
Chemical Strippers: Look for non-toxic options if you’re concerned about fumes.
Wood Stain: Choose a color that complements your home décor.
Sealant or Topcoat: Polyurethane or varnish will protect your refinished doors.
Preparing the Area
Preparation is key to a successful refinishing project. Taking the time to prepare your workspace will save you headaches later.
Protecting Your Surroundings
You’ll want to cover the floor and any nearby furniture with drop cloths or plastic sheeting. This protects against spills and drips, which can be messy.
Safety Precautions to Consider
Always wear protective gear, including gloves and goggles. Ensure the area is well-ventilated, especially if you’re using chemical strippers, as the fumes can be strong.
Assessing the Condition of Your Doors
Before diving into the refinishing process, take a good look at your doors to assess their condition.
Identifying Damage and Wear
Check for:Scratches and dents
Water damage or swelling
Peeling or flaking finish
If you notice significant damage, you may need to consider repairs before refinishing.
Determining the Best Approach for Stripping
Depending on the condition of your doors, you may choose a chemical stripper or a heat gun for removing the finish. For lighter wear, sanding might be sufficient.
Stripping the Finish
This is the most crucial step in the refinishing process, so take your time and follow these techniques.
Applying Stripper to the Door
Using a brush, apply the stripper generously to sections of the door. Be sure to follow the manufacturer’s instructions on how long to leave it on.
Techniques for Effective Stripping
Apply stripper in small sections to prevent it from drying out.
Use a plastic scraper to gently lift the finish—be careful not to gouge the wood.
Removing Old Finish and Residue
After the stripper has done its work, use a clean rag to wipe away the residue. Repeat the process until no finish remains.
Sanding the Wood
Once the old finish is removed, it’s time to sand the wood to prepare it for staining.
Choosing the Right Sandpaper Grit
Start with a coarser grit (around 80) to remove any imperfections, then move to a finer grit (220) for a smooth finish.
Sanding Techniques for Best Results
Sand in the direction of the wood grain to avoid scratches.
Use a sanding block for flat surfaces and a sponge for curves.
Cleaning the Surface
After sanding, it’s essential to clean the surface thoroughly to ensure the best results when applying stain or finish.
Removing Dust and Debris
Use a vacuum or a damp cloth to wipe down the door and remove dust particles. Make sure the surface is dry before proceeding.
Preparing for Stain or Finish Application
Once clean, let the door dry completely. This step is vital for a successful stain application.
Staining the Wood
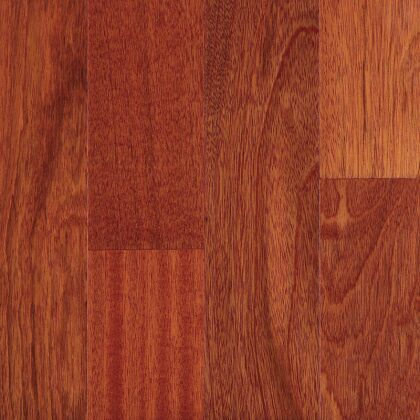
Choosing the right stain color can dramatically change the look of your door.
Choosing the Right Stain Color
Consider testing a small area first to see how the stain looks on the wood. You want a color that complements your home’s overall aesthetic.
Applying Stain Evenly and Effectively
Using a brush or cloth, apply the stain evenly, working in the direction of the grain. Allow it to penetrate for a few minutes before wiping off the excess with a clean rag.
Finishing Touches
After staining, it’s time to seal your work with a protective finish.
Applying Sealant or Topcoat
Once the stain is completely dry, apply a sealant or topcoat. This will protect your door from scratches and moisture. Use a brush or foam applicator for best results.
Drying Times and Curing Process
Follow the manufacturer’s instructions on drying times. Generally, allow at least 24 hours before using the door. For a full cure, it can take a week or more, so be patient!
Conclusion and Key Takeaways
Refinishing solid wood doors in place can seem daunting, but with the right tools, materials, and a bit of patience, you can achieve beautiful results.
Recap of the Refinishing Process
1. Assess the condition of your doors.
2. Prepare your workspace and safety gear.
3. Strip the old finish using a chemical stripper.
4. Sand the wood for a smooth surface.
5. Clean thoroughly before staining.
6. Stain and seal for a beautiful, lasting finish.
Encouragement to Try Refinishing Yourself
You can do this! With a little time and effort, you’ll have doors that look brand new. Don’t hesitate to share your refinishing experiences and tips!
FAQ Section: Common Questions About Door Refinishing
What if my door has deep scratches?
Consider using a wood filler to repair deep scratches before sanding. This will ensure a smooth finish.
How long does the entire process take?
Depending on the size of the door and drying times, expect the process to take several days, especially with drying and curing.
Can I use a different type of finish than what was originally on the door?
Yes, as long as you thoroughly remove the old finish, you can switch to a different type of finish.
Is it safe to use chemical strippers indoors?
While some strippers are designed for indoor use, always ensure proper ventilation and consider wearing a mask.
How often should I refinish my solid wood doors?
It depends on wear and tear, but generally, every 5 to 10 years is a good rule of thumb.
Key Takeaways
Refinishing doors in place is a cost-effective way to refresh your home.
Proper preparation and the right tools are essential for a successful outcome.
Patience and attention to detail will yield beautiful results.
Now that you’ve got the knowledge, grab your tools and get started on your refinishing project! Your solid wood doors will thank you for it.


Leave a Reply